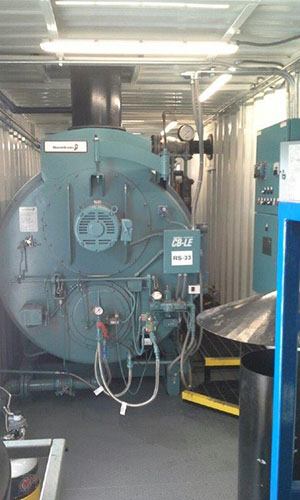
The Northeast can brave some pretty brutal winter temperatures. With colder weather on its way, now is the time to inspect and clean your boiler. Follow these 15 steps along with your equipment manufacturer’s recommendations to help avoid boiler downtime and unnecessary expenses this winter.
When conducting boiler maintenance, take precautions. Always disconnect the main power supply and follow proper lockout/tagout procedures before cleaning or repairing your system.
1. Inspect the fuel source.
Regardless of the fuel type that the boiler is burning natural gas, propane or oil, the supply and pressures must be verified, and the piping/valves must be checked for any leakage.If the boiler is burning heavy oil, the temperature of the oil needs to be verified to ensure proper viscosity for atomization.
2. Inspect for blockages.
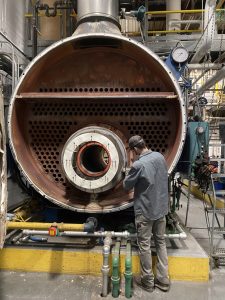
Your boiler’s flue needs to be free of blockages. Obstructions in your boiler’s flue or outlets can cause exhaust gases to build up, which can be dangerous and affect your boiler’s operation. While you are inspecting your flue outlets, ensure the joints are properly assembled.
3. Inspect the fireside.
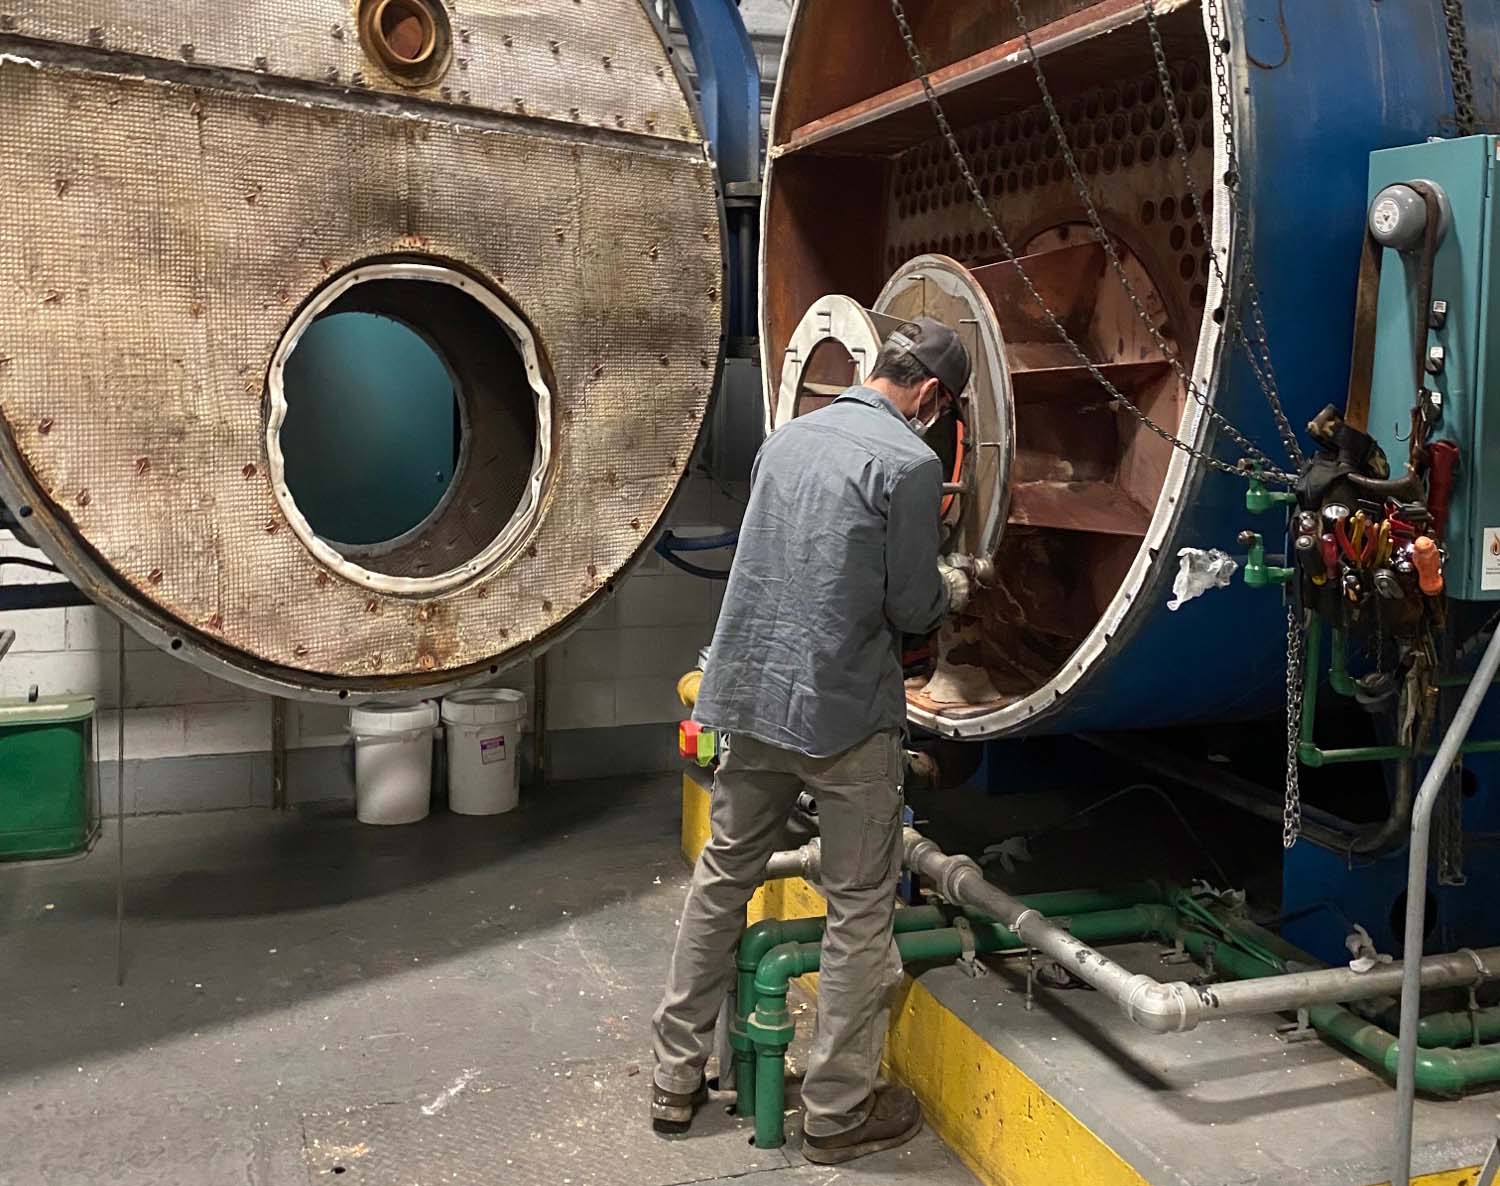
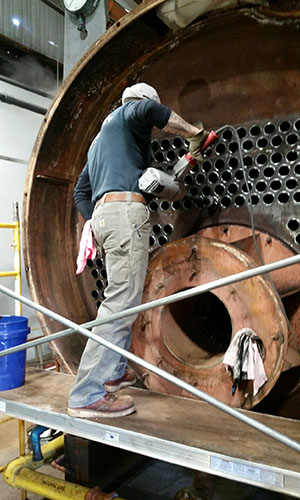
A dirty fireside leads to decreased efficiency. Open the fireside and check the boiler tubes and furnace area for any deposits of soot and non-combustible material and clean as necessary. A small amount of deposits can have a big impact on efficiency. Also, check the fireside gaskets for wear and brittlement, replacing these seals as needed.
4. Check the refractory.
All boilers will incur some cracking due to normal expansion and contraction. Inspect the boiler refractory for signs of excessive cracking (more than 1/8”) or erosion. Carefully repair these areas per the instructions from the manufacturer and/or refractory supplier.
5. Inspect the waterside.
All water-level controls and related inspection points should be opened and cleaned. Remove all manway and handhole plates from the boiler and remove the inspection plugs from the water column tees and crosses. Also, remove the float assemblies from the water column(s), and thoroughly wash all the waterside surfaces. Rod out the equalization lines and/or other related piping to ensure complete openness and replace worn-out gaskets as necessary.
6. Inspect the burner.
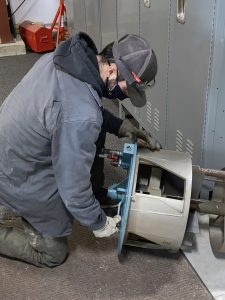
While the boiler is open, inspect the burner components. All moving parts should be free and non-binding. Inspect the shutter, burner baffle, damper, oil nozzle(s) and diffuser to ensure that all parts are in proper working order, are properly aligned per the manufacturer’s instructions and are not overheated, distorted or cracked.
7. Inspect the controls.
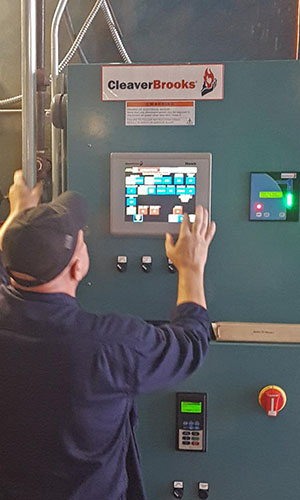
Any controls used to monitor the water level of the boiler should be checked for proper mounting position, wiring, switch integrity, alignment and mechanical operation after reinstalling on the boiler. Before starting the boiler, inspect all of the operating controls for both mechanical and electrical integrity, paying special attention to visual signs of overheated wiring or switches. These operating controls can be found on the boiler’s electrical wiring diagram and will be electrically tied into the boiler’s burner management system, also known as a programmer or flame safeguard. If the wiring within the control is found to be defective or compromised, replace the control in its entirety. Do not attempt to rewire the internal control or replace its switches.
8. Close all openings.
Make sure that all of the boiler’s doors, manways and handholes are properly closed and gasketed, the boiler’s blowdown valves are closed, and the safety valve(s) are properly installed and vented.
9. Refill the boiler with treated water and open appropriate valves
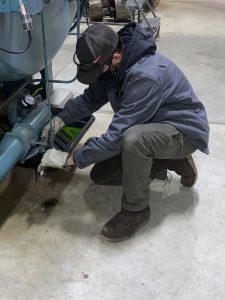
After you are certain the valves are closed, fill the boiler back up with treated water. Then, reopen the appropriate header, drain and vent valves.
10. Test the pumps and valves.
Test operate the pumps and valves to ensure proper operation.
11. Warm-up your boiler.
When the boiler is started from a cold state, be sure to bring the pressure up slowly to allow joints and metals to heat up evenly and reduce expansion stress.
12. Switch to automatic operation.
Do this once the boiler has reached the desired operating pressure.
13. Analyze combustion.
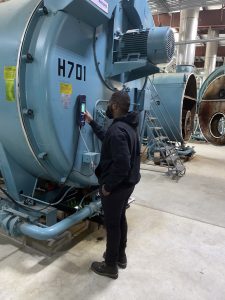
Perform a full combustion analysis. This step will help to optimize performance, verify component operation, lessen maintenance requirements, and minimize fuel requirements, thereby lowering operational expense.
14. Water treatment.
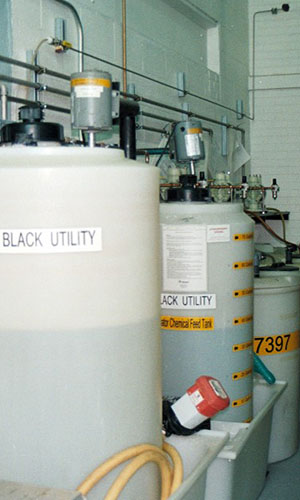
Test and treat the boiler water as instructed by the manufacturer. Also, it is a good idea to consult with a water treatment expert for a specific treatment program for your situation. Newly filled boilers and freshly started deaerators may require additional testing until the water chemistry reaches a “normal” balance. This will typically take a few days.
15. Monitor your boiler.
Closely monitor the boiler for the first few days after start-up to check for leaks and any additional maintenance items that may occur as the boiler and systems expand and reach operational temperatures. Use a boiler log to record regular boiler checks that would identify issues or operating performance.
To keep your boiler system operating properly, visually inspect all parts of the boiler system, analyze combustion, and test the boiler feedwater on a regular basis. Contact us with questions.

